Built-in Image Editor
WordPress has a built-in image editor that will allow you to perform basic editing operations on the images that you upload to your website. To use these editing tools:
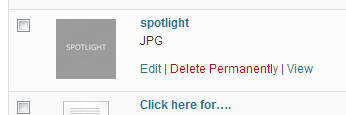
1.) Navigate to the Media Library by way of the ‘Media’ section of the Dashboard.

2.) Hover over the image you would like to alter and click ‘Edit.’
3.) This new screen will allow you to make adjustments to some of the meta-data relating to the image, and will also allow you to insert the image into content. To edit the image directly, click the ‘Edit Image’ button located below the image preview.

4.) Editing options include: scaling an image, rotating an image, changing an image’s aspect ratio and cropping an image. To crop an image, click and drag on the image, a selection box will appear. You can either drag the box until the desired dimensions are achieved, or after clicking and dragging, you can enter exact dimensions in the ‘Selection’ text fields (in the ‘Image Crop’ section). Once the desired dimensions are achieved, click on the ‘Crop’ button, which is the first of seven icons above the image.

5.) When you have completed your changes, click the ‘Save’ button and then the ‘Update’ button.
Note: If the image you are editing is being used on your website, the changes you make to it will not be reflected. You will have to add it back to the page by using “Add Media”.