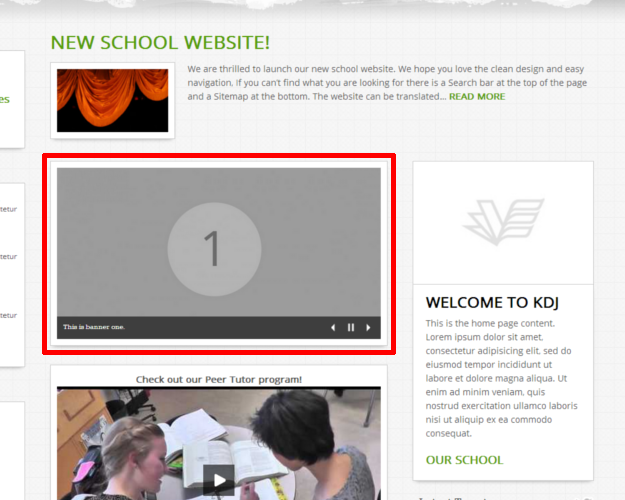
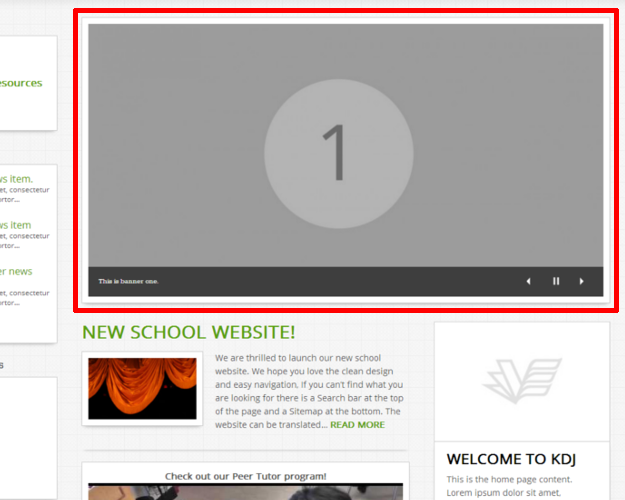
The Rotating Banner is a widget on the homepage that displays images with a slideshow-like effect. There are two options for displaying the Rotating Banner, which is a District-mandated widget. The Rotating Banner, by default, is displayed underneath the Spotlight, with a size of 517px by 274px (Example 1). The Rotating Banner may also be displayed directly below the top-level menu, with the size of 850px by 450px (Example 2). The Rotating Banner supports up to 20 images. If you add multiple images, and they are not being displayed in the Rotating Banner widget, your widget may not be enabled for 20 images. If you wish to change the position of your Rotating Banner, or enable the max amount of images, you must contact the Help Desk.
It is important to note that all of the images to be uploaded as a Rotating Banner Image must be 850px by 450px. Smaller or some portrait images may not be suitable for an image in the rotating banner. You may need to crop and/or resize the image to meet this specification. If you do not have an image editor, you may want to use GIMP—which is a free, open-source image editing software—or Google Slides. A tutorial on using Slides to resize images can be viewed here. If you require assistance with resizing an image to these specifications, please contact the Help Desk.
Adding a New Rotating Banner Image
1.) From the dashboard, choose ‘Add New’ from the ‘Rotating Banner’ menu item in the left sidebar (Example 3)
2.) Fill out the following content areas:
- Banner Slide Title: This is the title for the specific Rotating Banner Slide you are uploading (Example 4, fig. 1). Entering a title here will also add an overlay of the title on the Rotating Banner Widget (Example 5). You may leave this blank if you wish to not have a title overlay on the Rotating Banner Widget.
- Banner Slide – Add Image: Click on ‘Add Image’ (Example 4, fig. 2) and browse to your desired image in the Media Library, select it, and then click ‘Select’. You can also upload an image from your computer. For more information on uploading/embedding images, and the Media Library, please refer to this page.
- Order: Assign an order number which controls what order the slides are displayed. The smaller the number, the earlier it is displayed.
3.) Click on ‘Publish’ and the slide will be added to the list of Rotating Banner slides.
Deleting a Slide
1.) Click on the ‘Rotating Banner’ menu item on the left sidebar of the Dashboard (Example 6)
2.) Hover over the slide you wish to delete, and click on ‘Trash’ (Example 6, fig. 2).
All slides that are sent to the Trash may be retrieved if it has not been emptied.


