Newsletter Widget
The Newsletter widget displays a link to the latest Newsletter. This widget can be moved up or down the left sidebar, or can be removed completely. The colour of the rectangle that this widget displays is controlled by the base colour chosen for your website. The option to change these colours is available to you, and will be covered below. The Newsletter widget is populated by the Newsletter Content Type.
Newsletters Content Type
This content type is used to create ‘Newsletters’ for distribution on the school website. These Newsletters will appear on the ‘Newsletter’ page—located under the News & Events top-level menu item (Example 1a)—and the ‘Latest Newsletter’ homepage widget (Example 1b). Each Newsletter has a unique page assigned to it, where a PDF link, newsletter description, and featured image are displayed (Example 1c). The most recently published newsletter will automatically appear first in the Newsletter page, and on the widget. There is no need to delete the items from this content type, unless you do not want the item to appear on the site any more.
Important: Do not delete, edit, or move the Newsletter page. It must remain underneath News & Events to function properly. If you wish to remove the Newsletter page, do not delete it, set it to ‘Draft’.
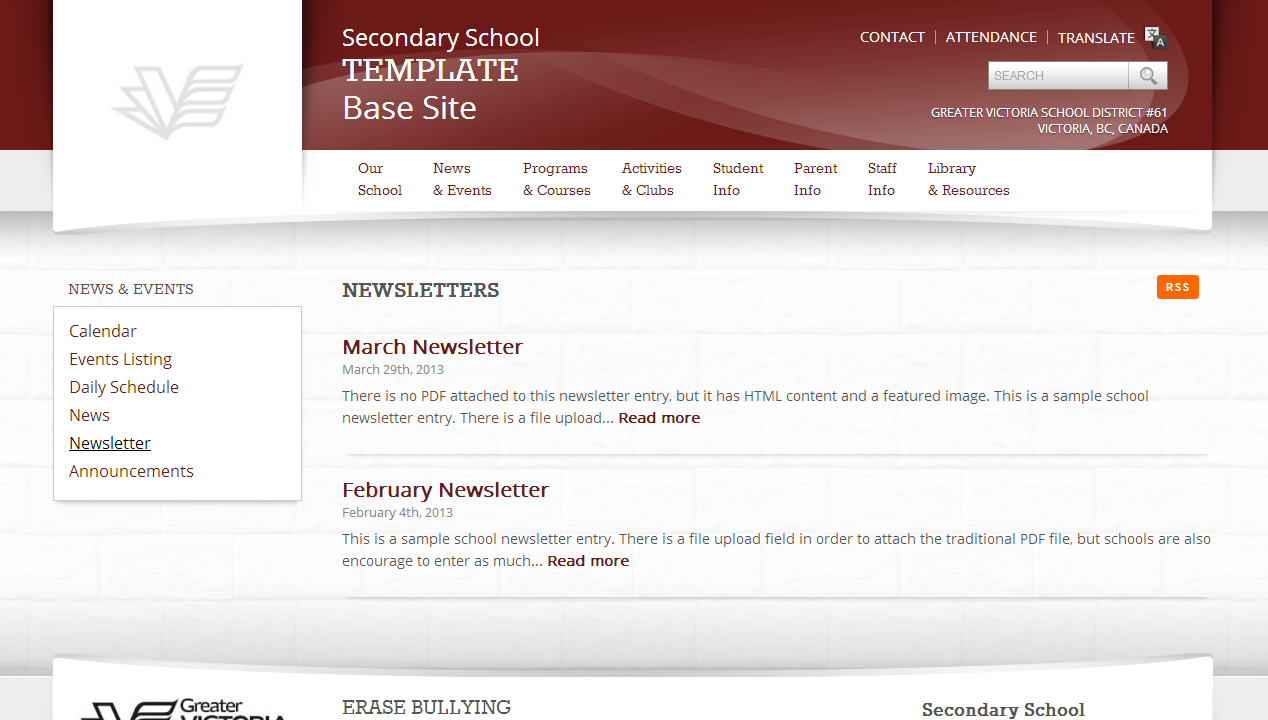
Example 1a
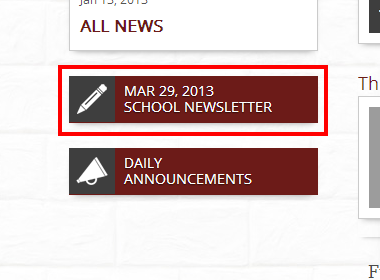
Example 1b
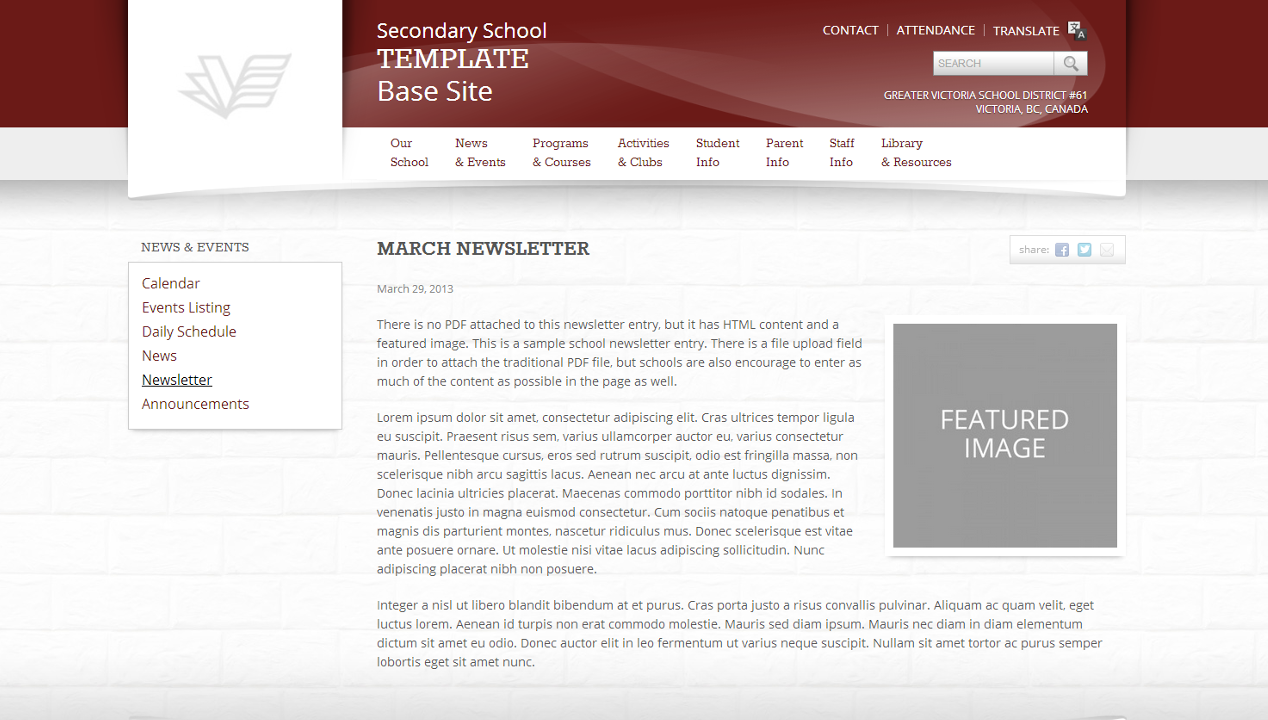
Example 1c
Add a Newsletter
1.) From the dashboard, choose ‘Add New’ from the ‘Newsletter’ menu item in the left sidebar (Example 1).
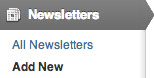
Example 1
2.) Fill out the following content areas:
- Newsletter Title: This will appear at the top of the new piece, and as the title of the article in the ‘Latest News’ widget.
- Newsletter Content (Description): This is the bulk of the news item’s content. Use the WYSIWYG editor. If you are uploading a .PDF newsletter, please include at least a portion of text—copy and pasted—from said PDF.
- Set a Featured Image: By setting a featured image, a dialogue box will appear allowing an image to be uploaded to the website or chosen from among those already in the media library. This image will be automatically cropped/re-sized and styled to fit a predefined look and placement appropriate to the design of the website (Ex. 2).
- Upload a PDF: If a PDF version of the newsletter exists, upload it by clicking the ‘Add File’ button (Example 3)
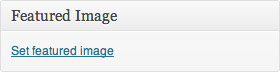
Example 2
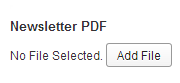
Example 3
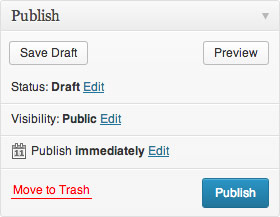
3.) Once these fields have been filled, the item is ready to be published. The following steps, available in the ‘Publish’ box, will allow the item to be published, saved as a draft or scheduled for later publication:
- Save Draft: Click this option will save a revision of the Newsletter item as a draft. This draft will remain editable and available through the website dashboard, but will not appear on live website. This is useful if an item requires multiple sessions for content creation and editing.
- Status: This allows a Newsletter item to be saved as a ‘Draft’ or as ‘Pending Review’. Draft status is described above.
- Visibility: There are three levels of visibility available to published Newsletter items: Public (visible to all website visitors), Password protected (available to all website visitors who know a password), Private (available only to website visitors logged in to the website.)
- Publish: This allows the editor to publish the item immediately or schedule publication of the post for a later time/date. If set to publish immediately, the item will appear on the live website as soon as the ‘Publish’ button is pressed. If you are uploading an old newsletter, it is important to change the ‘Published On’ date to reflect the newsletter’s original publish date.
- Move to Trash: This allows an item (draft, scheduled, or published) to be moved to the dashboard trash. It will be removed from the live website, but will remain available to users logged into the website dashboard until the trash is emptied.
Example 4