Upcoming Events Widget
The Upcoming Events widget displays, by default, three of the latest Events, and will only be displayed if there are upcoming events. This widget can be moved up or down the left sidebar, or can be removed completely. The number of posts it displays can also be modified. This widget is populated by the Events Content Type, or by your school’s Google Calendar feed.
Events Listing and Calendar Pages
The Events Listing and Calendar pages located under the News & Events menu are both populated by the Events Content Type.Do not move these pages out of the News & Events menu or they will not function correctly.
Events Content Type
This content type is used to create new ‘Events’ items. Many schools now use Google Calendars to create and manage calendar events instead. Items created using the events content type, or your site’s Google Calendar will appear on the ‘Events Listing’ page, the ‘Calendar’ page. The IT for Learning Dept. is responsible for creating new Google Calendar instances for GVSD websites, and adding staff to manage the calendar. Do not use a Google Calendar that has been created with a staff Google account.
Add an Event Item with The Events Conent type
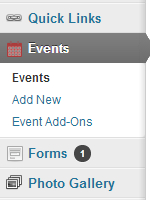
1.) From the dashboard, choose ‘Add New’ from the ‘Events’ menu item in the left sidebar.
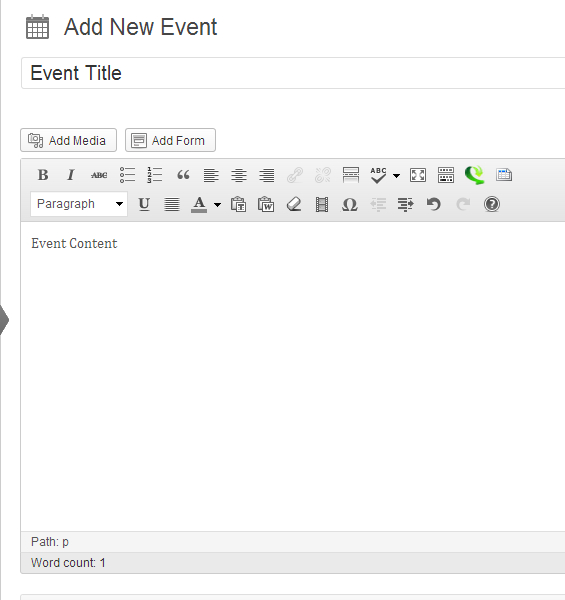
2.) Fill out the following content areas:
- Event Title — This will appear at the top of the Event, and as the title in the Upcoming Events widget.
- Event Content — This is where you enter additional information about the Event
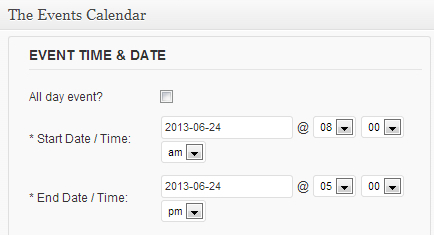
3.) Set the date and time for the event:
- If the end time is not known the start time can be added to the Title or Event Content.
- For all day events such as Pro-d days and holidays check the “All day event?” box.
4.) Fill out any of the following optional details:
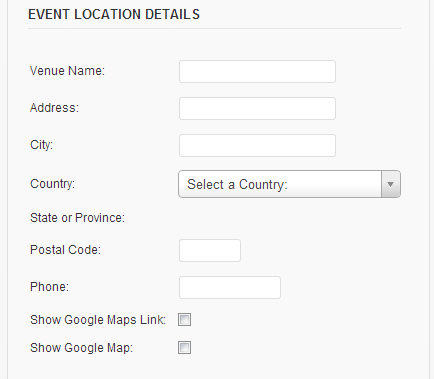
Optional: Event Location Details
Fill out any of the desired fields you want to display in the event details. You do not have to fill out all fields unless you wish to include a Google map in your event. To include a Google map in your event check the “Show Google Maps Link” check box, this will provide a link to Google maps when viewing the event details.
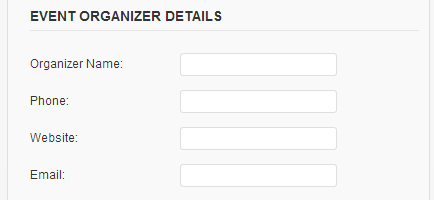
Optional: Event Organizer Details
Contact information for the event organizer can be filled in here
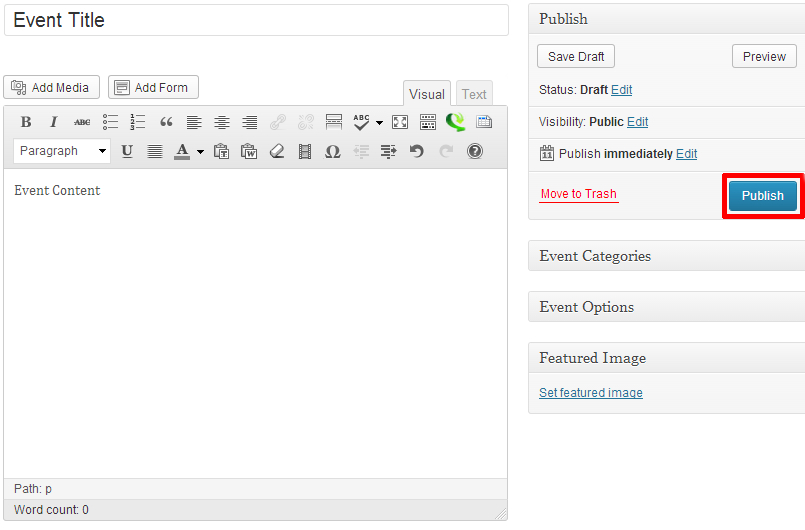
5.) Once these fields have been filled, the item is ready to be published. The following steps, available in the ‘Publish’ box, will allow the page to be published, saved as a draft or scheduled for later publication:
-
-
- Save Draft: Click this option will save a revision of the item as a draft. This draft will remain editable and available through the website dashboard, but will not appear on live website. This is useful if a page requires multiple sessions for content creation and editing.
- Status: This allows an item to be saved as a ‘Draft’ or as ‘Pending Review’. Draft status is described above.
- Visibility: There are three levels of visibility available to published items: Public (visible to all website visitors), Password protected (available to all website visitors who know a password), Private (available only to website visitors logged in to the website.)
- Publish: This allows the editor to publish the item immediately, or schedule publication of the item for a later time/date. If set to publish immediately, the item will appear on the live website as soon as the ‘Publish’ button is pressed.
- Move to Trash: This allows an item (draft, scheduled, or published) to be moved to the dashboard trash. It will be removed from the live website, but will remain available to users logged into the website dashboard until the trash is emptied.
-